Share this
Managing Lead Status in the HubSpot Salesforce Integration
by Lauren Ryan on October 2023
Many marketing and sales teams cannot easily pull a list of their customers from their CRM. This is pretty ironic, considering a CRM stands for Customer Relationship Management.
Why is this such a pervasive problem? Data hygiene is often deprioritized in favor of a singular focus on growth and improvement. But, if you continue to automate and add to your CRM without improving data quality, you’re building on a weak foundation. A foundation that will leave your team ill-equipped to build and maintain relationships with your customers.
How do we fix this? One property at a time.
Let’s start with optimizing the HubSpot Lead Status property.
What is HubSpot Lead Status?
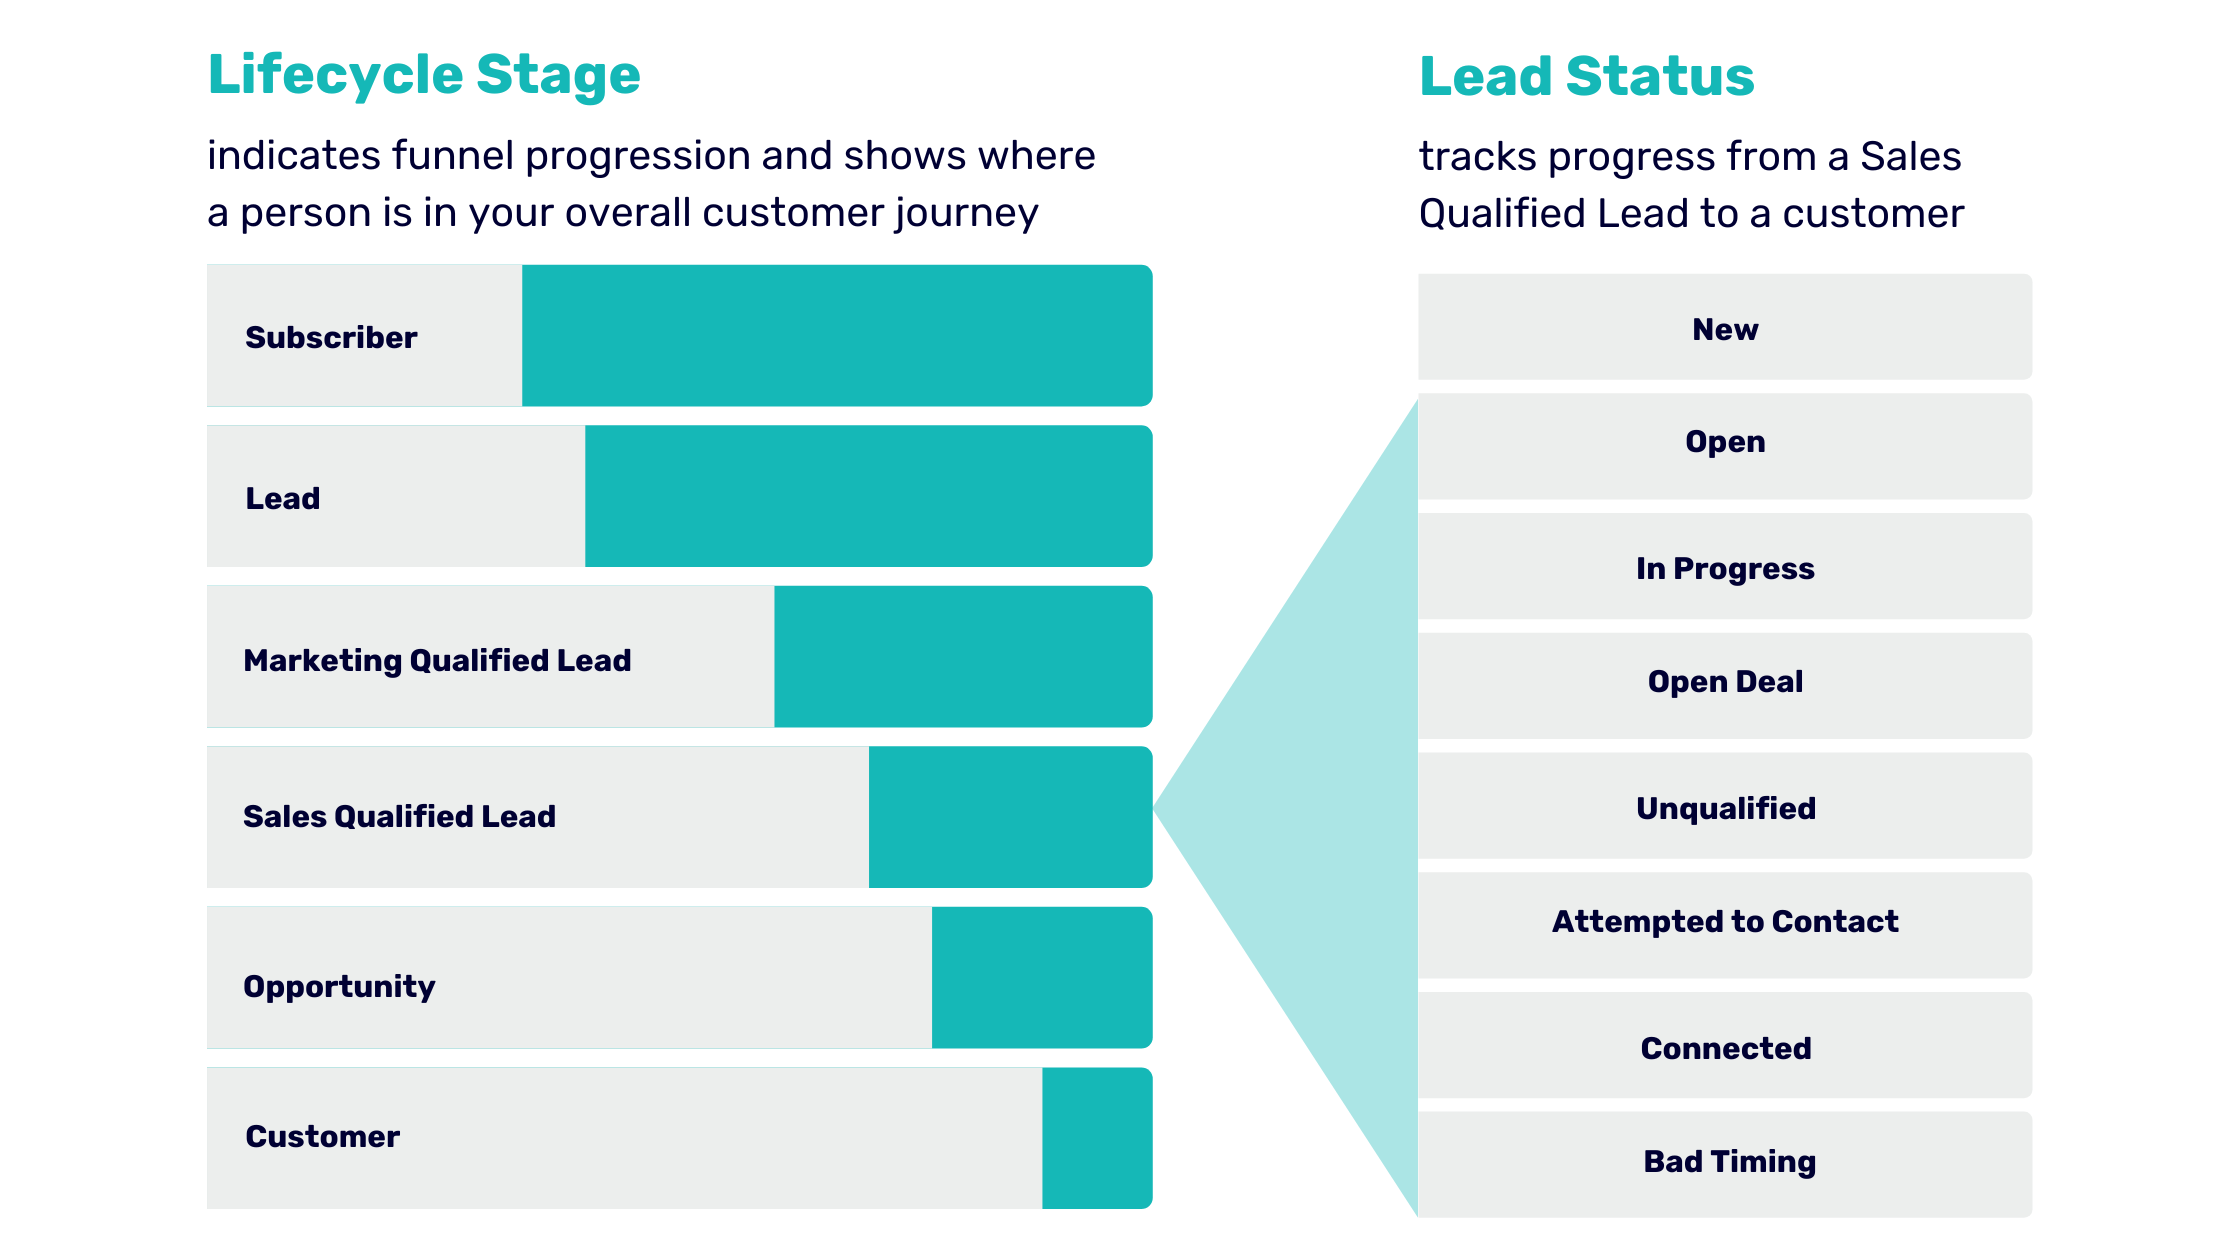
One of the key properties to maintain to filter and segment your database is Lead Status. Lead Status indicates a lead’s progression from a marketing qualified lead (MQL) to a customer. Lead Status is your window into your sales team's interactions. In HubSpot, the Lifecycle Stage indicates where a person is in the buyer journey. Lead Status is a breakdown of the sales cycle once the Lifecycle Stage reaches sales qualified lead (SQL).
Maintaining an accurate Lead Status enables:
- Sales reporting
- Sales automation
- Marketing segmentation
Creating Custom Lead Status Options in HubSpot
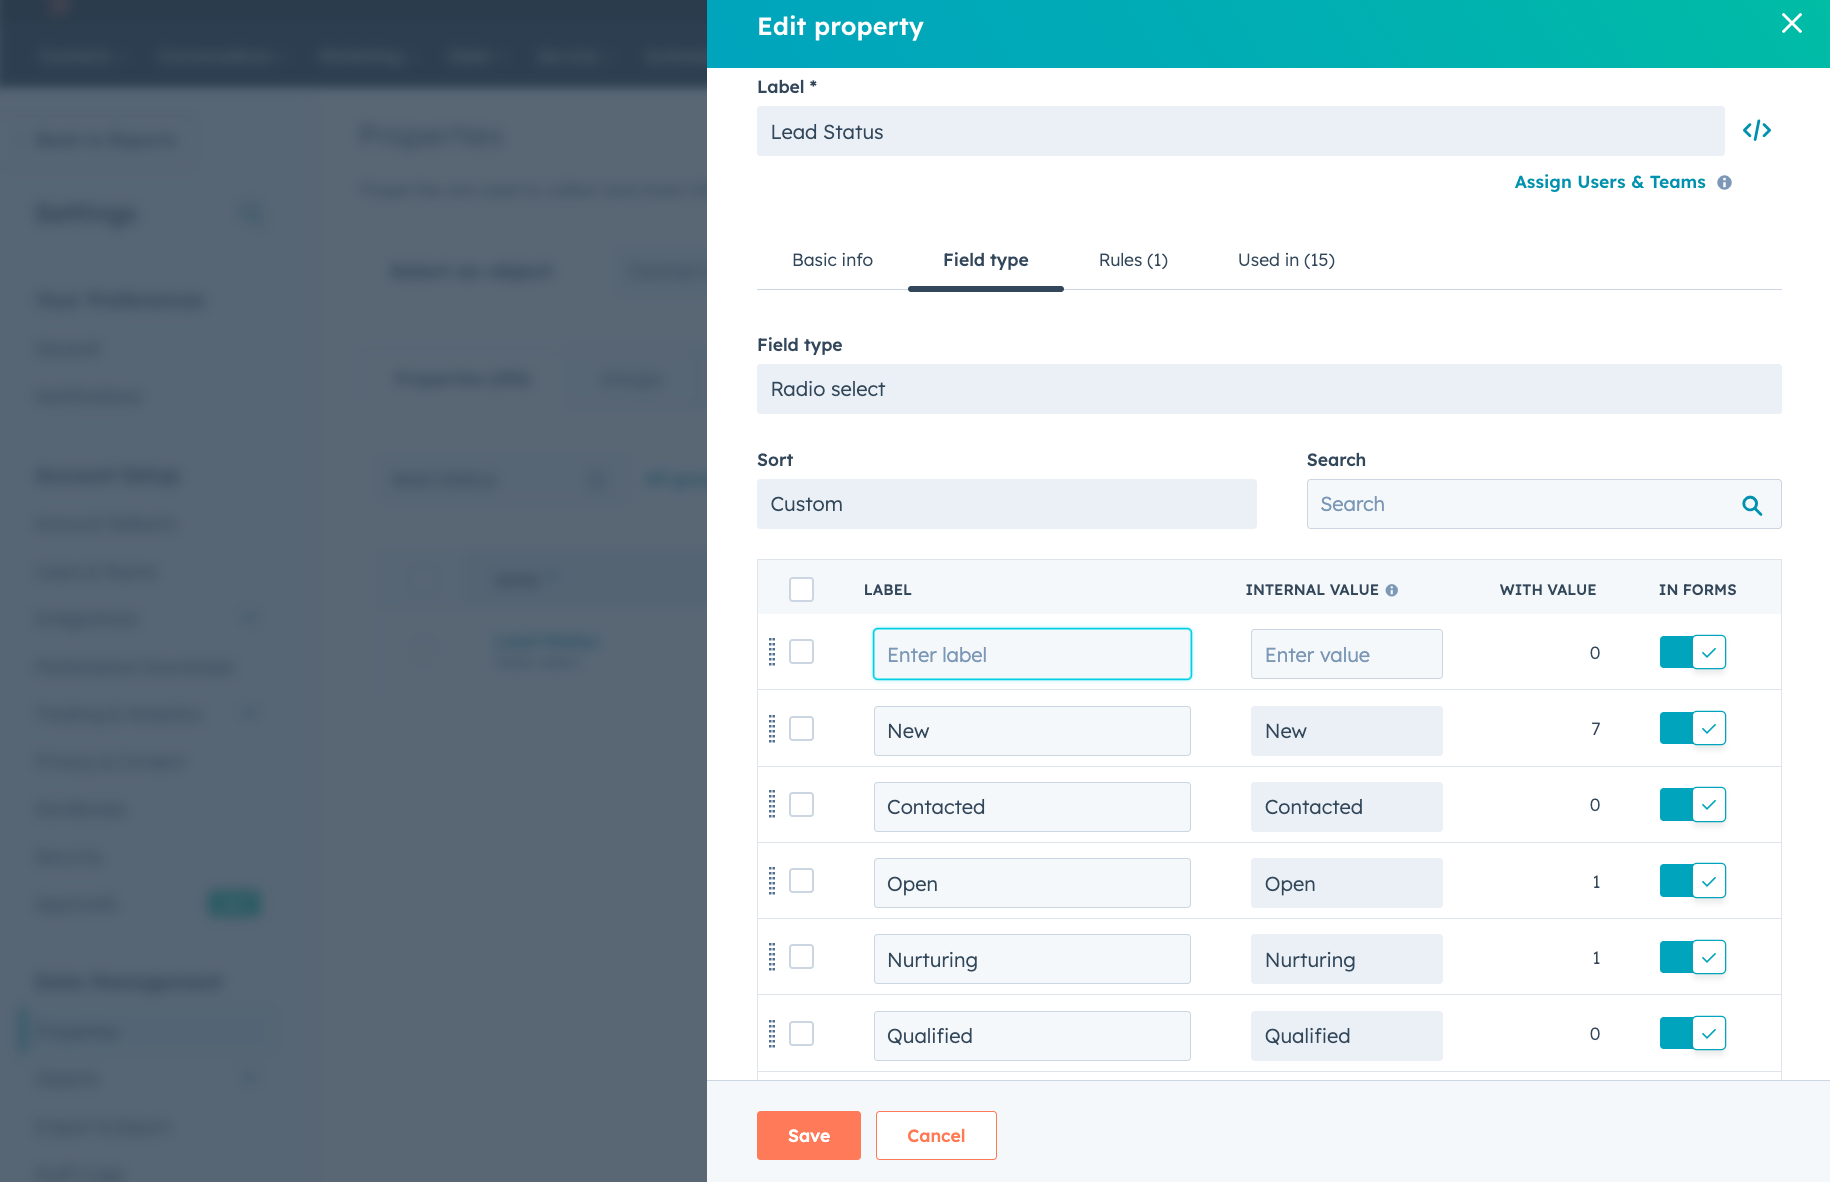
The Lead Status property in HubSpot tracks the activities within the Sales Qualified Lead stage of the sales process. Think of this as a mini version of Opportunity stages. The default HubSpot Lead Status options are:
- New
- Open
- In Progress
- Open Deal
- Unqualified
- Attempted to Contact
- Connected
- Bad Timing
These Lead Status options are standard for the B2B sales cycle. While these are a great starting point, your company may want to track different key milestones in the journey from SQL to Opportunity creation. When selecting custom Lead Status options, consider the key sales process points worth tracking. For example, these could include first meeting and prospecting. After selecting custom Lead Status options, add these options in HubSpot.

Integrate HubSpot Lead Status with Salesforce
After investing the time in selecting custom Lead Status options, be sure to maintain the integrity of this property across integrations. Installing the HubSpot Salesforce integration often duplicates the Lead Status property. Luckily, it’s easy to fix.
Managing Lead Status When Installing the HubSpot Salesforce Integration
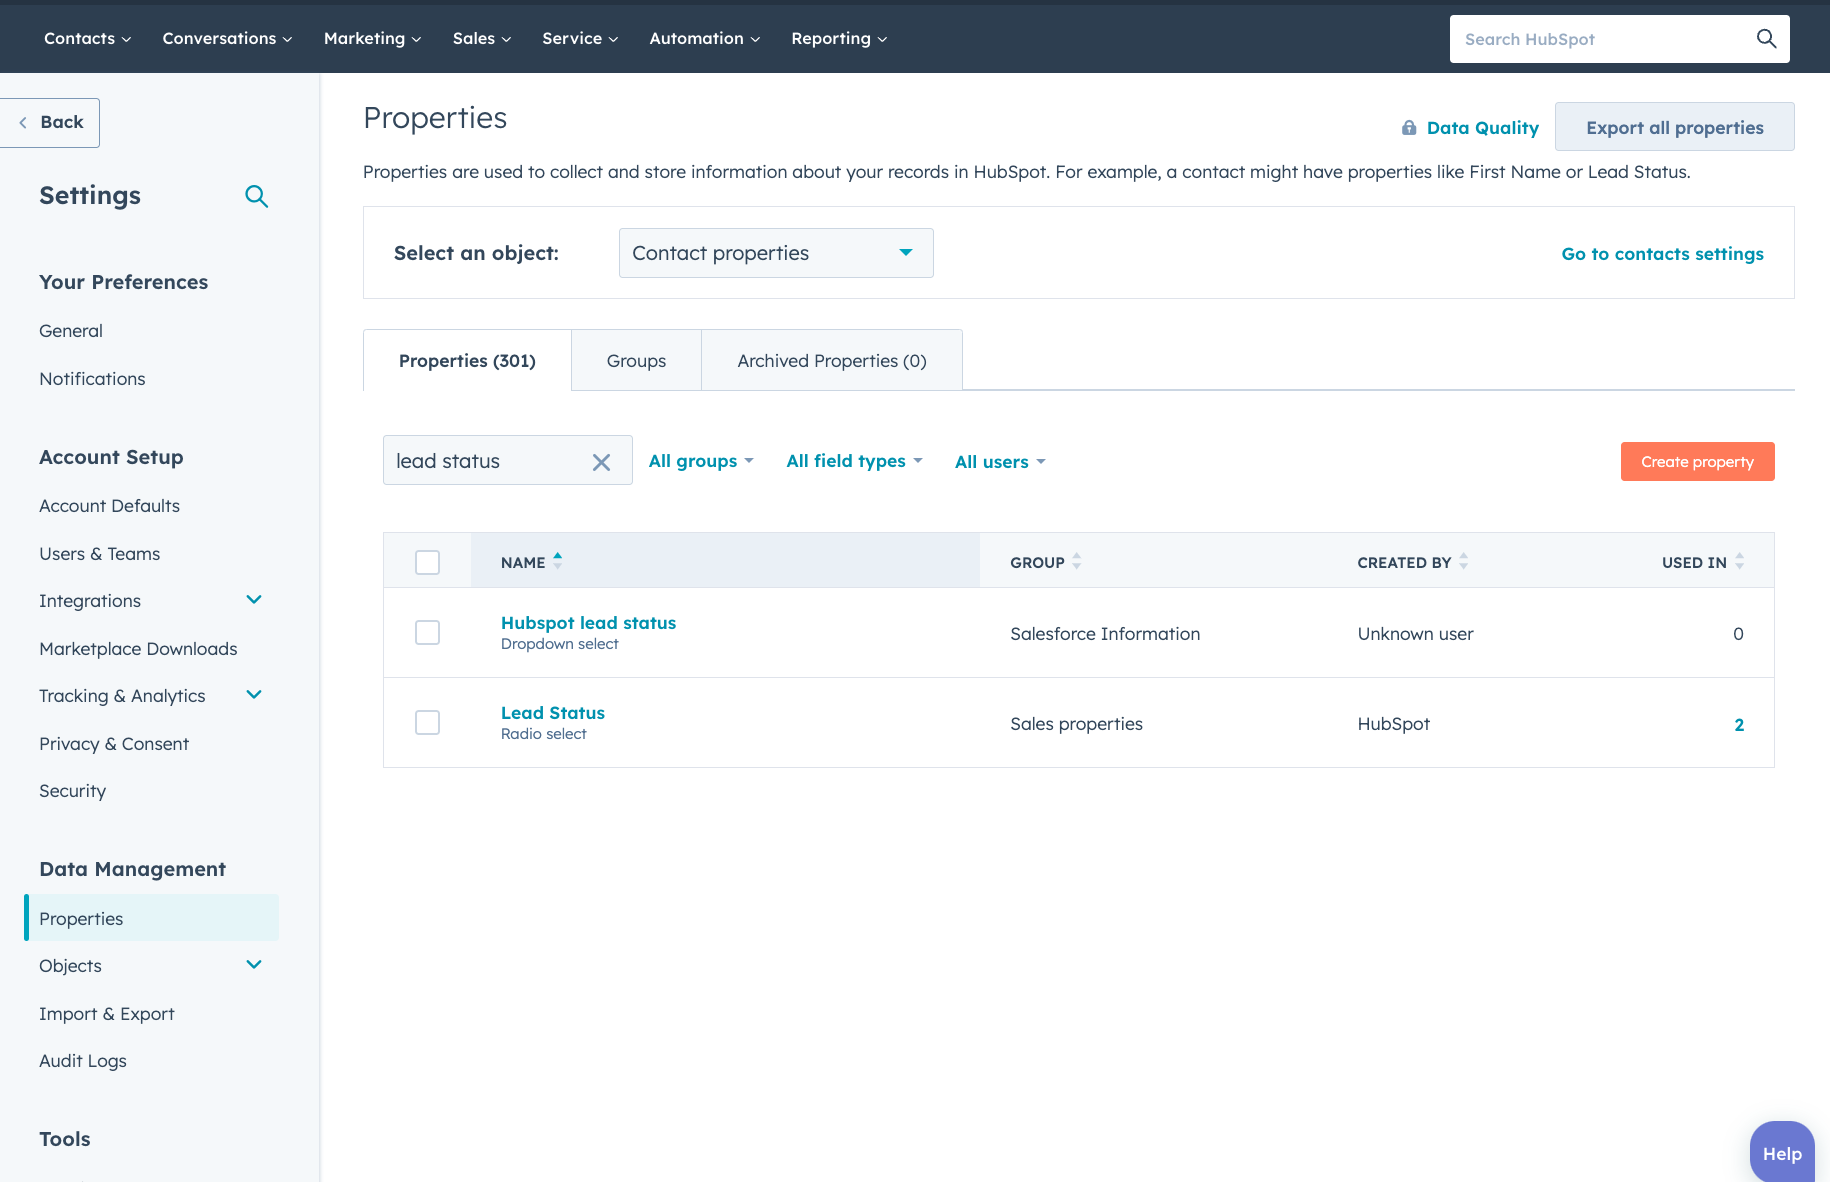
When the HubSpot Salesforce integration is installed, a new Lead Status property is created in HubSpot. This property is mapped to the Salesforce integration. HubSpot users will likely use the existing HubSpot Lead Status property to manage Lead Status automation if this is not corrected. The values in this property will not sync to Salesforce because Salesforce sends data to the Lead Status property created by the integration.

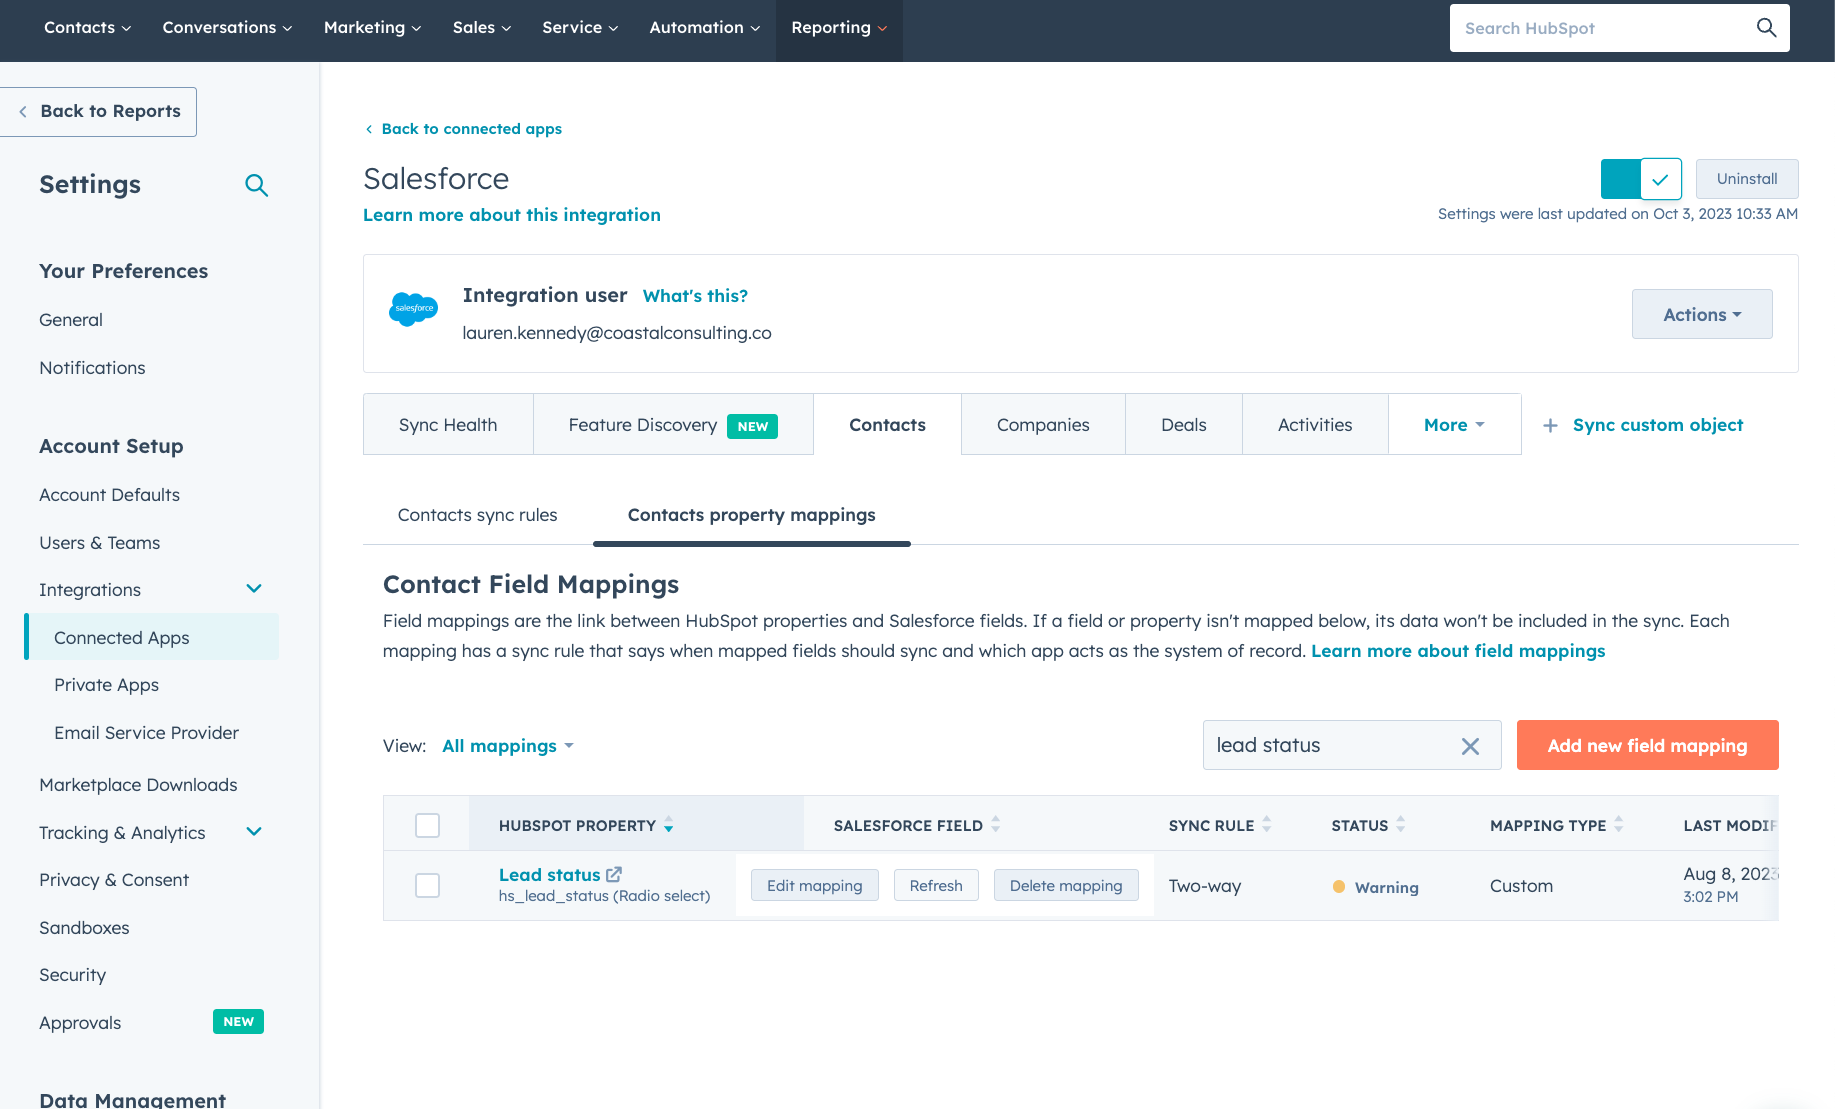
To fix this, the values for Lead Status need to match between Salesforce and HubSpot on the existing HubSpot Lead Status property. Then, add HubSpot Lead Status to the sync. Map this property as a Two-Way sync with the standard Salesforce Lead Status field. Finally, the Standard Mapping from Status to the new Lead Status property should be set to Don't Sync, and the property should be archived from HubSpot.
You can do this without additional steps if the account is new and no data exists in these properties. If the account has data in one or both of the Lead Status properties, workflows or bulk edits are needed to update the HubSpot Lead Status field with the most up-to-date data before making property edits.
Maintaining the Lead Status Property in the HubSpot Salesforce Integration
The Lead Status property in HubSpot is a picklist property. Whenever a picklist value is added or updated in Salesforce or HubSpot, an additional step needs to be taken to update it in the other system. If values are added or changed over time in the Lead Status property, ensure they also happen in the other system. If these changes are made in Salesforce, navigate to the field mappings in HubSpot and click Refresh. This will pull in any picklist values from Salesforce that are not already in HubSpot. If changes are made in HubSpot, manually open the synced property in Salesforce and make the same changes. This will prevent picklist sync errors from occurring due to the changes.

Automate Lead Status in HubSpot and Salesforce
Now that you’ve designed the perfect process for your Lead Status property build automations in HubSpot and/or Salesforce to automate progression between statuses. If you’re leveraging Sales Hub with Salesforce for sales enablement, use HubSpot Workflows to automate progression. If you’re leveraging Salesforce with Outreach or Salesloft, use Salesforce Flows to automate progression.
These automations are built following the if/then structure. If x happens, then do y. Here are a few examples of how to automate Lead Status progression with the automation tool of your choice.
- If a new lead is assigned > Then set Lead Status to New
- If an email is sent or a sales representative makes a phone call to make contact > Then set Lead Status to Attempted to Contact
- If a meeting is booked > Then set Lead Status to In Progress
- If a meeting outcome is set to completed > Then set Lead Status to Connected
- If a new opportunity is created and associated with the contact > Then set Lead Status to Open Deal
Maintaining an accurate Lead Status in your CRM is crucial for accurately filtering and reporting on your database. By optimizing the HubSpot Lead Status property and integrating it with Salesforce, you can ensure data consistency between systems. Automating Lead Status progression further enhances efficiency and allows for better reporting, segmentation, and sales automation. Don't let data hygiene be deprioritized in favor of growth; instead, focus on building a strong foundation that empowers your team to build and maintain meaningful customer relationships. To learn more about optimizing the HubSpot Salesforce integration, enroll in the HubSpot Salesforce integration course.
Share this
- April 2025 (1)
- March 2025 (1)
- January 2025 (3)
- December 2024 (2)
- September 2024 (2)
- August 2024 (2)
- July 2024 (3)
- June 2024 (1)
- May 2024 (1)
- February 2024 (1)
- January 2024 (1)
- December 2023 (1)
- November 2023 (1)
- October 2023 (5)
- September 2023 (2)
- June 2023 (1)
- April 2023 (2)
- March 2023 (2)
- February 2023 (5)
- January 2023 (8)
- December 2022 (7)
- November 2022 (10)
- October 2022 (2)
- September 2022 (11)
- August 2022 (4)
- July 2022 (2)
- June 2022 (3)
- May 2022 (8)
- April 2022 (6)
- March 2022 (4)
- February 2022 (4)
- January 2022 (6)
- December 2021 (4)
- November 2021 (4)
- October 2021 (4)
- August 2021 (1)
- July 2021 (7)
- June 2021 (15)
- May 2021 (1)
- March 2021 (2)

